How to Start a Travel Blog in 2025: Step-By-Step Guide
The best time to start a travel blog is now! ⏰
I started this travel blogging site two years ago in January 2023. I made plenty of mistakes at the beginning, but it still only took me a few months to hit 1,000 monthly page-views and earn my first few hundred dollars. 🎉
Then in January 2024 (one year in), I hit 50,000 monthly page-views and began earning nearly $2,000 a month. Before long, $5,000 months became the norm and now I’ve been a full-time travel blogger for a year and a half.
If I had waited another six months, or a year, or a few years to start, I wouldn’t be where I am now!
That said, I know it can feel scary to start a blog, especially if you don’t know anyone else who has done it successfully. Don’t worry, if you have internet access and a $3 a month to pay for web hosting (we’ll get into that later), you can start a blog right now!
This is a step-by-step guide to starting a travel blog right now. There are ten steps and it can feel daunting to get started, but I’ll be here for every single step with all the tips and insights I’ve learned as a professional travel blogger. If you are ready to take the leap, you’ll be one soon, too!! 💕
🌿 How to gain traffic on Pinterest: Check out Pinterest for Travel Bloggers


Working from a coffeeshop in Puerto Vallarta, Mexico, exploring waterfalls on the Big Island of Hawaii, seeing the Colosseum in Rome, and going on a boat tour of the Amalfi Coast in Italy
👋🏽 Note from the author: Did this article impact the way you planned your trip? Have any questions? Please comment at the end of the article! It helps this blog grow and helps me know what types of articles to write more. 💛
🌍 What to know before starting a travel blog in 2025 🌍
- 🌟 Travel blogging is a business, and businesses are all about providing value. As a blogger, you provide your audience value by making it easier for them to plan their travels. You can do this by writing helpful articles about the places you’ve traveled, with details you wish you knew before visiting for the first time!
- ✈️ You do NOT need to travel full time to be a travel blogger. You can travel as much or as little as you want. And you can even write about the place you live!
- ❌ You do not need to use social media to succeed as a blogger. Being a travel influencer on Instagram or a YouTuber is completely different than being a travel blogger. Plenty of bloggers earn a full-time income without ever posting on social media. That said, you can use each social media as a separate steam of income if you’d like!
- 📈 There is a ton of potential for travel blogging in 2025. The market is not oversaturated (even if it feels like it) and even with AI, Google algorithm updates, and the amount of people using social media to plan their trips, you can still make a full-time income blogging. There are plenty of topics and destinations that have very little coverage online, and plenty of gaps to fill as a new blogger.
- 💰 You can earn passive income, but you need to do the work upfront. One of my favorite parts of being a travel blogger is that I can take off as much time as I’d like and still earn passive income. That said, you still have to do a lot of work to get your blog to that place!
- ✍🏽 Your travel blog does not need to be in English. There is demand for travel blogs in many different languages! If you struggle to find good information about the destinations you travel in your native language, consider starting your own blog to fill in the gaps!
How to Start A Travel Blog For Beginners!
1. Pick A Domain Name
Your domain name is the name of your site, and the url where your travel blog will live on the internet. Mine is Your Friend The Nomad, www.yourfriendthenomad.com.
Choosing a good, memorable domain name is important—you don’t want to have to change it later. But you also don’t want to get caught up on this step!
If you’re putting off starting a travel blog because you can’t think of a good name, give yourself a time-limit in which you must decide on a name. It could be 4 hours from now, or by the end of the week. Whatever you do, don’t let this step slow you down!
Ideally, a good domain name should be:
- 😎 Memorable: Easy to spell and remember. Try to stick to 2-3 words and avoid domains that are difficult to read. For instance, www.annieabroad.com instead of www.anniealwaysonthego.com. Yep, my domain is 4 words but if I could do it again, I’d choose something a little simpler.
- ✈️ Travel-Related: People should understand that your site is a travel blog when they hear the name. For instance, www.anniesadventures.com is more relevant than www.annieblay.com or www.chocolatelover.com.
- ⚖️ Flexible: Your domain is your business name, and you want it to be able to evolve with you as your travel style (and brand) evolves. I’d avoid a domain that puts you in a box you might grow out of, like www.budgettravelbyannie.com or www.disneyadventures.com, unless you’re certain that you’ll stick to that niche for a very long time!
- 📱Available: Obviously, your domain needs to be available for you to purchase it! Check availability for the actual NameCheap, making sure the .com is available, and not too pricey. I also recommend making sure the same username is available on Instagram and any other social media you’d plan to use. (Don’t purchase your domain name yet, you’ll get it for FREE in the next step!)
💕 Words of wisdom: If I were to go back, I would have chosen a more simple domain. YourFriendTheNomad.com still works for me, but I’m no longer a digital nomad (like I was when I started blogging). I also think it’s better to choose a domain with your first name in it, like www.exploringannie.com or www.anniesadventures.com. Keep it simple and don’t overthink it—but make sure you choose something you’ll be comfortable with for years to come as your travel style evolves.
*Don’t purchase your domain yet!! It should be purchased from your hosting provider in the next step!
2. Setup Hosting
Setting up hosting for your travel blog is another essential step that can feel daunting. But I promise, you can do it! 💪🏼
So, what is web hosting, and why do you need to set it up? Every single website online has a host that stores all the site’s data (photos, code, text, etc) in servers, and makes the site accessible to the public via the internet. Your web host also affects your site speed, and having a speedy site is important!
After working with several different hosts, my favorite is Lyrical, which has an incredibly helpful customer service team that has basically turned into my tech team… Any time I’ve had confusing tech issues (usually from me accidentally messing things up!), they’re quick to respond and fix things!
Lyrical also has a variety of mini blogging courses and other resources available for free for their customers! And the other perk of Lyrical is they offer domains, too, so you can setup hosting and purchase your domain in one place.
Go ahead and purchase your site hosting, and follow the directions from Lyrical to get it all setup for your brand new WordPress site! Use the code YFTN10 for 10% off your hosting!
👉🏼 Budget hosting option: Another hosting option is SiteGround, which is only $2.99 a month and it includes a FREE domain name. But why do I recommend Lyrical instead? Lyrical offers better site speed, and as I mentioned, an amazing support team. If you go with SiteGround, you’ll save money but will be on your own if you have tech issues.


A few adventures since I started travel blogging! Wandering through the streets of Rome, hiking on a volcanic crater on the Big Island, and hiking to the top of a ridge on Oahu
3. Install WordPress.org
Next, let’s set up your WordPress.org site! It’s essential to go with WordPress.org (not WordPress.com or Wix, Squarespace, etc).
Why not Squarespace or Wix (or WordPress.com)? Trust me, as someone who has had several Squarespace sites and WordPress sites. Wix and Squarespace have great marketing, but they are not good platforms for professional travel blogging. You need a self-hosted WordPress.org site to work with most ad companies, so you’ll thank yourself later when you install WordPress.org now and get to earn passive income with ads later on! Plus, WordPress.org is 100% free!
Good news—Lyrical offers free WordPress installation, so you will be able to get your site on WordPress when you set up hosting through Lyrical. ✅

4. Choose a Theme
A website theme is essentially a design template that makes your site pretty and easy to navigate! Some themes are optimized for site speed (which is important) and others are notorious for slowing down your site (avoid these).
There are thousands of WordPress themes available—some free, some paid, and some even as a subscription service.
My #1 recommendation when choosing a theme is to prioritize speed and customization abilities over aesthetics. I know, it’s so easy to compare themes just by how pretty they are, but a pretty theme that is slow and lacks customization abilities will be a pain in the long-term!
Here’s what I look for in a good WordPress theme:
- ✅ Kadence Parent Theme: The ‘parent’ theme is the foundational theme that is running in the background. There can be thousands of ‘child’ themes that use each ‘parent’ theme as their foundation. Kadence is known to the one of the fastest and most reliable themes. After trying other types of themes, I would 100% recommend a Kadence theme.
- ✅ Customization: As your site grows, you’ll want to be able to customize things. One of the main reasons I switched to my current theme was because I wanted more control over the design of my homepage. Kadence themes are very customizable, so choosing a Kadence theme is a win-win!
- ✅ Easy Setup: While customization is important (especially in the long-term), it’s also important to choose a theme that you can set up easily and quickly at the beginning. Fonts and colors are easy to change, but make sure you’re okay with the general layout to start!
So, which WordPress themes are best for travel bloggers? These are the options I would consider:
- 👍🏼 Restored 316 Themes: Excellent customizable themes with beautiful design and a great support! My site is currently on Restored 316’s Journey theme and I LOVE it! Seeing how different my site looks compared to the Journey theme demo site shows you how much can be customized. They also offer theme installation if you want some extra help.
- 👍🏼 17th Avenue Designs Themes: I started with a 17th Avenue Design theme since they’re affordable and beautiful. Amelia is their most affordable Kadence theme, and would work well for a travel blog! They also offer theme installation if you want some extra help.
- 👍🏼 Free Kadence Theme: The free Kadence theme on WordPress.org is an excellent option, especially if you’re on a budget! It starts out simple, but you can easily customize!
Choosing a theme is another step that people often get caught up on because they want to make their blog look perfect from the beginning. But trust me, a basic published travel blog is much better than a perfectly designed blog that takes forever to publish.
So, go ahead, choose your theme and get it up and running! If you purchase a theme with Restored 316 or 17th Avenue, they’ll provide you with detailed installation instructions to make the process easy.
5. Customize Site & Publish Essential Pages
Once your theme is installed, you’ll want to start customizing! Don’t spend too much time here, I’d focus on a few essential pages:
- ✅ Home page: Most WordPress themes have 2-3 homepage design options. Be sure to check them all out and build off of whichever one you like most. I think a good homepage begins with a banner and quick introduction to your blog, followed by links to your destinations/blog categories, and specific blog posts. Since you don’t have any blog articles on the site yet, keep it simple to start and make adjustments later!
- ✅ About page: Create a basic about page. Remember, you can always change this, so don’t get too caught up in the details. I’d write 2-3 short paragraphs about yourself plus a good photo. You can include whatever you want, but make sure it’s relevant to your blog. Check out the top section of my about page for inspiration!
- ✅ Contact page: A simple contact page is also essential. Your WordPress theme should have a template you can use! As you’ll notice, my contact page is VERY simple.
- ✅ Disclosure & privacy policy: You can use privacypolicygeneator.com to generate a privacy policy for your site. Make sure your privacy policy is easy to find. I have mine linked at the bottom of every page in the footer.
- ❌ Pages to wait on: If you look at any established travel blogger’s site, you’ll notice they have dozens of pages. For instance, I have a full page about Hawaii, a page about my favorite travel resources and a newsletter signup page. But you don’t even have a single blog article on your site—focus on getting the basic pages setup ASAP so you can start publishing travel blogs (which is how your audience will find you), and then add those extra pages later on. A simple, clean site honestly looks better than with a ton of pages and no blogs to link to on those pages!
You can also adjust the fonts and colors. These two things massively affect the feel of your site, but you can easily adjust them later, so don’t get too caught up in the colors and fonts. 🎨
🤔 Do you need a logo? Nope! Honestly, I do not have a logo anymore… I’ve made the mistake of paying way too much for logos for businesses in the past. What’s more important is to make sure the name of your site is easy to read. It’s easiest to just choose a readable font and use it in your site header where your logo would be.

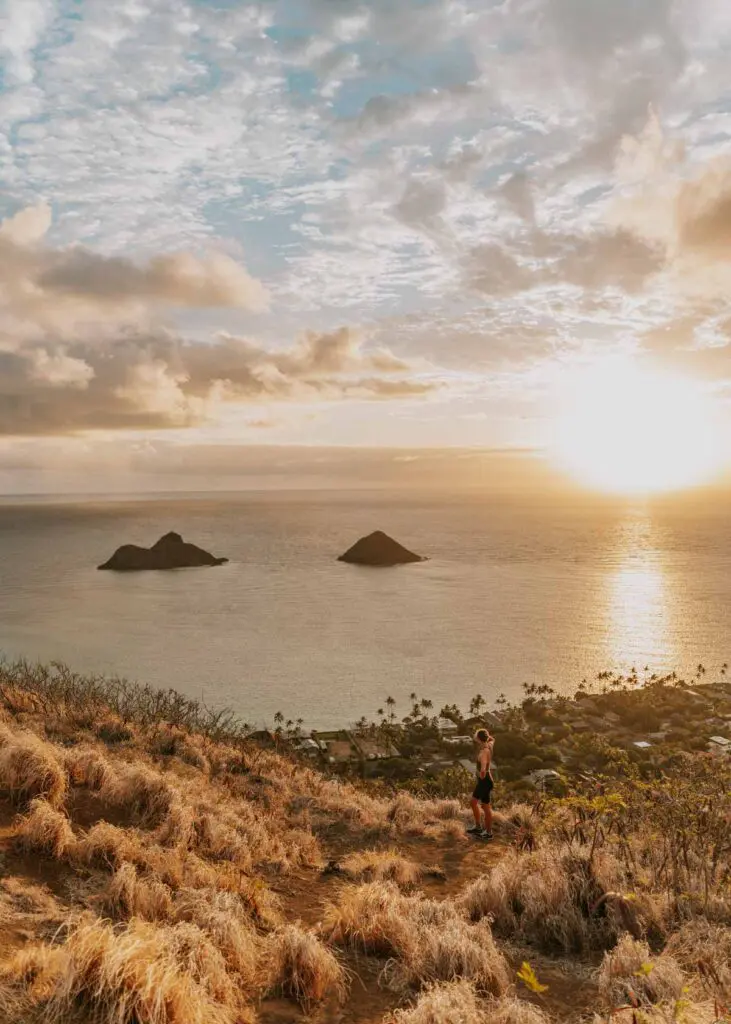

A few more shots from my early days of travel blogging! Exploring Mitla in Oaxaca, Mexico, hiking the Lanikai Pillbox Trail in Hawaii, and watching the sunset in Oaxaca City during my month of living there
6. Install Essential Plugins
By this point in the process, you’ve probably already heard about plugins, either through your host or WordPress theme provider!
Plugins are basically tools you can add to your WordPress site. 🛠️ There are thousands of plugins you can add, but it’s important to be selective with which plugins you install, since they can sometimes slow down your site speed.
That said, I’d start with installing any plugins that your web host (Lyrical) and theme designer (Restored 316 or 17th Avenue) recommend. Some additional plugins I recommend include:
- ✅ Rank Math SEO: RankIQ helps optimize your site for SEO and has tons of helpful features, plus some unhelpful features. Definitely download it (you only need the free version), but take the SEO suggestions that pop up while you’re writing blogs with a grain of salt.
- ✅ UpdraftPlus – Backup/Restore: Allows you to back up your site!
- ✅ Wordfence Security: Firewall and malware scanner to protect your site from cyberattacks!
- ✅ Easy Table of Contents (Optional): Automatically inserts a customizable table of contents in your articles so that readers can navigate the page more easily. This is optional, but as a user, I much prefer sites that have a table of contents!
A few more plugins I use and love, though they are not essential when you’re just getting started:
- ➕ Yoast Duplicate Post: Allows you to duplicate blog posts, if you want to use one article. The ‘rewrite and republish’ feature is especially useful later on when you want to update old articles.
- ➕ Smush Pro: A paid plugin that automatically makes your site faster by transforming your images into WebP files (which load faster). They also have a free version, but I had to go with the Pro version because I have so many photos on my site!
- ➕ FileBird Lite: Free plugin that allows you to create folders for your photos (and other media). This makes it much easier to stay organized with the hundreds of photos from all your travels!
🤔 How do you install new plugins on your site? Go to your WordPress dashboard (usually yoursiteurl.com/wp-admin/. You’ll see the plugins button about halfway down the left side of the screen! Click there and then click ‘add plugins’ to search for the exact plugin. You’ll have to install the plugin, then click ‘activate’ before it goes live on your site. Often, you’ll want to go through the specific plugin’s settings and make any adjustments.
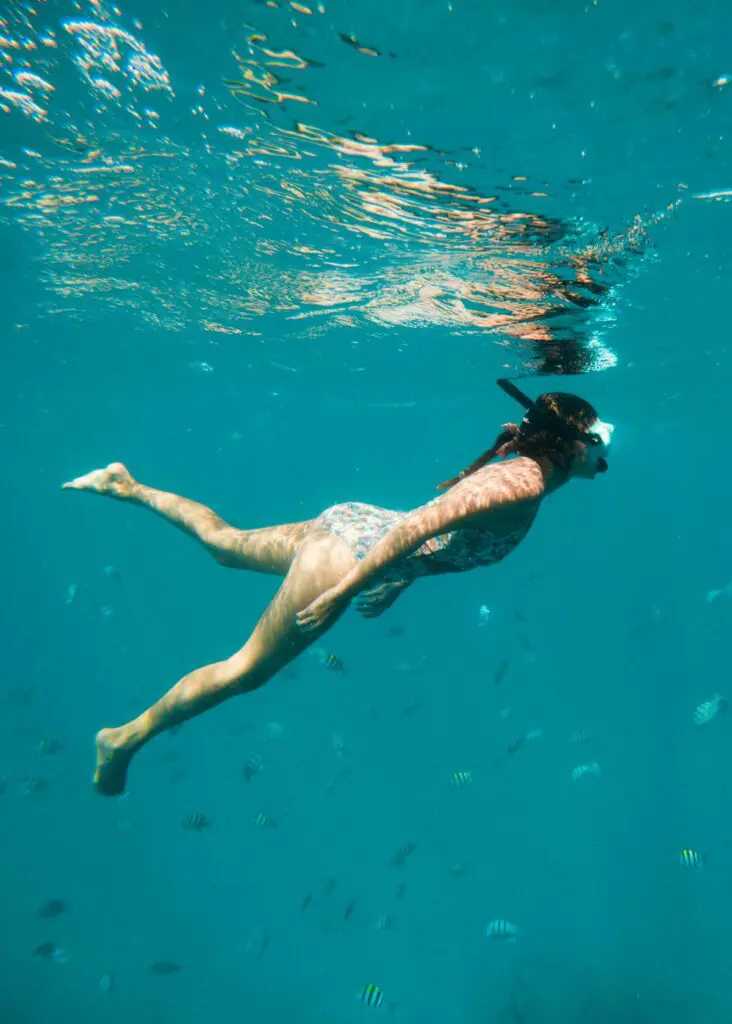
A few more adventures since starting a travel blog: snorkeling (anywhere and everywhere I can!), exploring sea caves on Oahu, and a fun sunset boat tour in Caye Caulker, Belize!
7. Setup Google Search Console & Google Analytics
Next, let’s connect your site to Google Analytics and Google Search Console. These two platforms are both run by Google, and both give you detailed analytics, but they’re different and you need both! ✅
What’s the difference between Google Analytics and Google Search Console?
Google Search Console measures your performance on Google’s search engine. For instance, how many people click on your website after searching a specific keyword on Google, and which keywords bring you the most traffic!
Meanwhile, Google Analytics tracks all traffic to your website, including organic traffic from Google search (the searches Google Search Console tracks), as well as traffic from Pinterest, Facebook, and anywhere else on the web! Plus, Google Analytics tracks direct traffic from people who are typing in your url directly, or clicking on a link to your site from a text message or email.
In short, Google Analytics tells you about each person who visits your site, while Google Search Console specifically measures visits from Google searches. 📈
Setting Up Google Analytics
Your host (Lyrical) may help you with setting up Google Analytics, but it depends on which package you purchase.
If you need to figure out setting up Google Analytics on your own, follow the official setup steps on Google’s website or watch a YouTube tutorial like this one.
Tip: It’s important to know that Google transitioned from a platform called Universal Analytics (UA) to Google Analytics 4 (GA4) in 2023-2024. If you read/watch any content online about Google Analytics, make sure it’s referring to GA4, not the old version!
Setting Up Google SEARCH CONSOLE
You’ll most likely have to set up Google Search Console on your own. Web hosting providers don’t typically help with this.
Follow the directions on Google’s official setup guide, or watch a YouTube tutorial like this one.
Keep in mind that it can take a few days for Google Analytics and Google Search Console to start recording traffic for your site! But since you likely just launched your website, you probably won’t see many visits to start. Don’t worry, we’ll work on attracting visitors to your site soon!
8. Create Pinterest & Other Social Accounts
We’re almost done setting up your travel blog! 🎉 But first, make sure you secure your blog’s social accounts before someone else takes your username!
You don’t have to use your social media accounts yet, but just having them will make it easier for you later down the line. And using social media is 100% optional—I didn’t use social media (besides Pinterest) until I’d been blogging for over a year and I could still grow my travel blog to 70,000 monthly page views!
Even if you don’t want to use social media, I highly recommend creating a Pinterest account. Pinterest is actually more like Google than it is like Instagram or TikTok. People use Pinterest like a search engine, and there is a huge opportunity to bring lots of traffic to your blog via Pinterest with very little effort! 📈
Make sure you have a Pinterest Business Account and any other social media you’d like (Instagram, YouTube, Facebook Page, etc.) I just use Pinterest and Instagram, so what you use is completely up to you!
📍 How to Grow on Pinterest as a Travel Blogger: I just launched a course on Pinterest for Travel Bloggers! Details here.
9. Apply The Best Travel Affiliate Network
TravelPayouts is an incredible affiliate network that allows travel bloggers and creators like you (yep, you’re a travel blogger now!!) to earn passive income by promoting hotels, tours, and and other travel-related brands. 💰
By joining TravelPayouts, you get access to apply for access to affiliate links from 57 different travel brands all in one platform. (I’ve had affiliate accounts with over a dozen different companies. Let me tell you that being able to access everything in one account with TravelPayouts is a huge perk!)
Some examples of the travel brands on TravelPayouts include Viator which has excellent day tours all around the world, and Booking.com, which is what I personally always use to book hotels for my travels! You can also work with TripAdvisor, VRBO, Priority Pass, RailEurope, and more! ✈️
Best of all, TravelPayouts is beginner-friendly. You can apply now even though you’re a brand new blogger, unlike with other affiliate programs that require you to show a certain amount of traffic to your website. You get the same (sometimes better) commission rates you’d get if you were to apply for affiliate programs directly with the travel brands, and some of the brands on TravelPayouts don’t have their own affiliate programs, so TravelPayouts is your only option.
Once you’re on the TravelPayouts platform, you’ll need to apply for the specific affiliate programs you’re interested in—you might have to wait to apply for some of the programs, but others you can apply for right away. I’ll help you decide on which affiliate programs to focus on in my Travel Blogging Demystified Guide (coming soon)! ✅

Me thinking ‘YOU CAN DO THIS!’ because you absolutely can!
10. Learn How to Write Good Travel Blogs & Earn Money!
Now it’s time to start writing travel blogs!! My Travel Blogging Demystified Guide for brand new travel bloggers is coming soon! In the guide, I share the exact travel blogging strategies that have allowed me to achieve $5k/month just over a year after launching my website. Sign up for my newsletter below to get notified when this guide is available!
Thanks for reading & best of luck with your new travel blog!! ✈️
More Travel Blogging Resources
- How to Write the BEST Travel Blogs That Readers Come Back For
- How to Ethically Promote Affiliate Links as a Travel Blogger
- Best Lightweight Camera Gear for Travel Bloggers
Save this article for later on Pinterest: